Are you tired of spending hours on a pencil drawing only to see it smudge later? I’ve been there, too.
In this post, I’ll share the exact tips I use to keep my graphite sketches looking fresh and clean from start to finish. These tips can save your artwork from smearing disasters if you draw often, especially in a sketchbook.
Contents
- 1 #1. Choose the Right Pencil for Less Smudging
- 2 #2. Use a Kneaded Eraser for Light Work
- 3 #3. Use a Feather Duster
- 4 #4. Smart Rendering Techniques
- 5 #5. Use a Paper Barrier Under Your Hand
- 6 #6. Interleave Pages with Coated Paper
- 7 #7. Use Fixative Sprays
- 8 #8. Be Mindful of Your Sketchbook Layout
- 9 Wrapping Up
#1. Choose the Right Pencil for Less Smudging
Let’s start with materials because the pencil you choose plays a significant role in how much your drawings smudge.
For most of my drawings, I use an HB mechanical pencil. It’s very light, and honestly, it’s one of the lightest pencils I can find at the art store.
I’ve tested many options, and this one gives me the cleanest results. Compared to wooden pencils, the mechanical one smudges a lot less.
The reason comes down to the lead. My mechanical pencil holds HB lead, which is firm and doesn’t leave behind thick, soft strokes.
On the other hand, wooden pencils like the 8B are much softer. They make heavy marks that smudge easily. I’ve used both, and the difference is enormous.
I used the soft 8B wooden pencil in one of my sketchbook pages. I wasn’t pressing hard, but it smudged badly, especially onto the opposite page.

But what about the drawings I made with the HB mechanical pencil? They stay clean and don’t smudge onto each other. That’s why I always stick to the HB mechanical pencil and build up my strokes slowly.

#2. Use a Kneaded Eraser for Light Work
Erasing plays a big part in keeping your drawings clean. When I’m still sketching lightly, I always reach for a kneaded eraser.
I like using a kneaded eraser because it’s soft and gentle on the paper. It works especially well in the early stages of a drawing before I add heavy shading.
I can dab or roll it across the lines, and it doesn’t leave any crumbs. That means I don’t have to brush anything off, so there’s no risk of smudging.

If I use a harder eraser instead, it leaves behind tiny bits that are tough to remove. Brushing those crumbs away can drag graphite and mess up my drawing. That’s why, for light work, the kneaded eraser is my go-to tool.
#3. Use a Feather Duster
Sometimes, erasing can leave behind tiny crumbs, and trying to brush them off with your hand just makes things worse. That’s when I reach for one of my favorite tools.
I use a feather duster to remove eraser crumbs from my drawings gently. I simply sweep it lightly across the paper. It clears away crumbs without smudging anything.

#4. Smart Rendering Techniques
Let’s move on to how I build up shading in my drawings without causing smudges. These simple habits help me keep my work clean from start to finish.
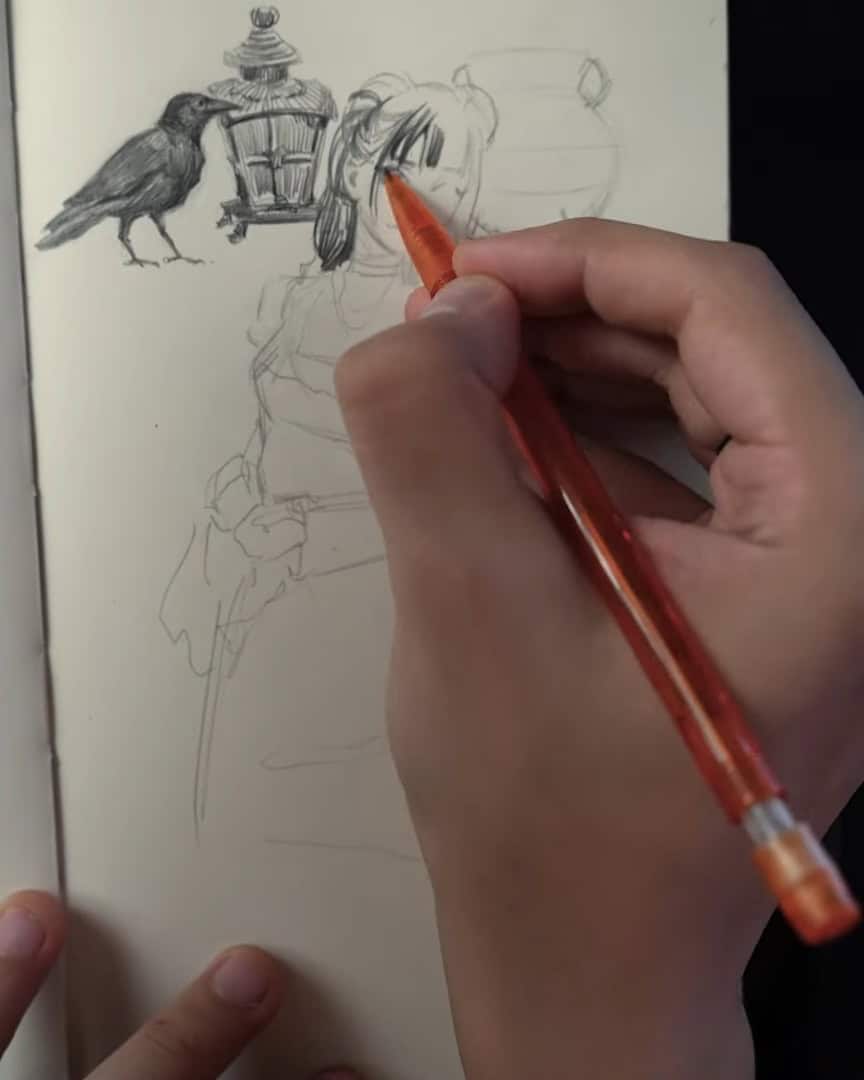
I always start rendering from left to right since I’m right-handed.
If you’re left-handed, go from right to left instead. Working from one side of the paper to the other helps prevent your hand from dragging over the graphite.
If I see pencil marks on the side of my fingers or the bottom of my hand, that’s a sign that something’s smudging.
I also avoid shading in little sections. Instead, I slowly build up tones across the entire drawing simultaneously.
I don’t press too hard or go too dark too fast. Layering gradually gives me more control, which keeps the drawing clean and even.

#5. Use a Paper Barrier Under Your Hand
There’s a simple trick I always use to stop my hand from smudging my drawing while I work.
When I’m shading a new area—the top left part of the page—I place a piece of paper under my hand. If I’ve already finished shading the bottom right, I can go back over the top left without messing up the parts I’ve rendered. It keeps the whole page clean as I draw step by step.

#6. Interleave Pages with Coated Paper
Protecting finished drawings in a sketchbook is just as important as the drawing itself. Here’s what I do to stop smudging when I close the book.
I use onion skin paper, wax paper, or any coated paper to place between my sketchbook pages. These coated sheets act like a barrier. When I draw on the back side of this paper, there’s usually a little smudging.
Sure, the coated sheet might pick up a little graphite from the drawing underneath—but usually not too much.

Some artists even place wax paper between every page in their sketchbooks.
But honestly, I don’t do that. It gets messy. Having wax paper poking out everywhere makes it hard to carry the book around. It just gets in the way.
Another option I like is plastic film paper. It works well, too. Any paper with a smooth coating or plastic surface tends to stop smudging.
To test it, I just grab two sheets—shade one with graphite, place the coated paper on top, and draw on the back. If barely anything transfers, it’s good to use.

#7. Use Fixative Sprays
Even with careful drawing, some smudging still happens, especially when people flip through my sketchbook and touch the pages. That’s why I often use fixative sprays to protect my finished work.
After I finish a drawing, I usually do two light passes of spray over the paper. This helps stop the graphite from smudging and keeps the drawing safe, even if someone touches it.

Some fixatives leave a shiny finish, while others are very matte. And most of them will change how your drawing looks.
The darks can get lighter, and the overall values often shift toward a medium tone. It’s not extreme, but it’s noticeable.
Here’s how I test a fixative: I shade a piece of paper, cover half of it, spray the other half, let it dry, and compare. Also, I don’t use hairspray because it can turn drawings yellow over time.

#8. Be Mindful of Your Sketchbook Layout
This last tip helps protect your drawings even after you finish them. I always plan what goes on the pages next to each other.
When working on one side of my sketchbook, I think about what’s on the opposite page. If I’m drawing in the upper part of a page, I check if the back side has dark areas that might smudge.

If I make a dark, fully rendered drawing, I sometimes leave the next page blank on purpose. That way, the graphite doesn’t rub onto anything else.
Other times, I draw something lighter, like a simple sketch with soft shading, because I know the back of the page has a heavy drawing.
You’ll see a pattern in my sketchbook: a dark drawing, then a light one. Then another dark, then another light. This method keeps both pages clean.

I also learned not to go too dark too soon. One time, I pressed too hard early in the drawing, and it smudged badly.
Now I build up my shadows slowly with layers. It gives me more control and keeps the page looking neat.

Wrapping Up
Smudging doesn’t have to ruin your graphite drawings. Your artwork can stay clean and crisp with the right tools, smart habits, and a little planning.
I’ve tested all these tips myself, and they work. Do you have a favorite trick I didn’t mention? Share it with me in the comments. Let’s keep our sketches smudge-free together!