
Filling your watercolor pans with tube paints is a game-changer. It saves money, lets you customize your palette, and ensures your paints stay fresh.
But if you don’t do it right, you’ll end up with cracked paint, air gaps, or even messy spills.
In this guide, I’ll show you step by step how I fill my watercolor pans correctly to get smooth, long-lasting results. Let’s get started!
Contents
Watercolor Pans vs. Tube Paints: What’s the Difference?
Before we dive into the filling process, let’s talk about why you might want to use tube paints in watercolor pans.
What Are Watercolor Pans?
Watercolor pans are small plastic containers that hold dried watercolor paint. They come in two sizes:
- Half pan (holds about 2 ml of paint)
- Full pan (holds about 4 ml of paint)
Full pans are great if you like using bigger brushes, while half pans are more compact and fit better in travel palettes.
What Are Watercolor Tube Paints?

Tube paints are concentrated watercolors in liquid form. They’re cost-effective because a single tube can refill a pan multiple times. For example:
- A 15 ml tube fills a half pan about seven times.
- A 7 ml tube fills a half pan about three times.
- A 5 ml tube fills a half pan two to three times.
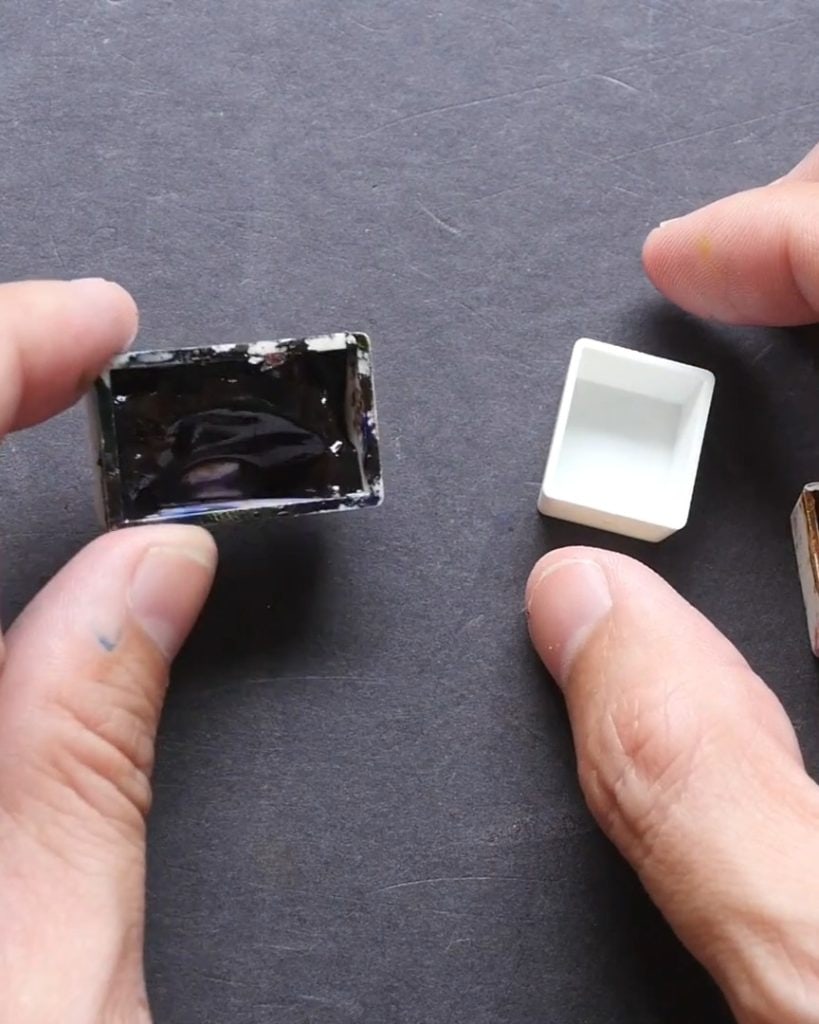
How Do Tube-Filled Pans Look Compared to Pre-Filled Pans?

If you look at a pan filled with tube paint, you’ll notice it looks smooth and full. On the other hand, pre-filled pans can have a bumpy surface with gaps between the paint and the pan.
This is why filling your pans gives you more control over the final look and texture of your paints.
Preparing to Fill Your Watercolor Pans
Before opening a paint tube, make sure you have these ready:
- Watercolor tube paints
- Empty watercolor pans
- A toothpick
- A brush
Having your pans nearby is essential because some tube paints might be separated inside the tube, causing liquid to rush out when opened.
Checking for Paint Separation

Sometimes, the binder (gum arabic) separates from the pigment when the paint sits for a while. If this happens, squeezing the tube too quickly can make the paint spill everywhere.
That’s why I always check before opening and have my pan ready to catch any overflowing paint.
Step-by-Step Guide: How to Fill Your Watercolor Pans Properly
Now, let’s go through the exact process I use to fill my watercolor pans without wasting paint or creating gaps.
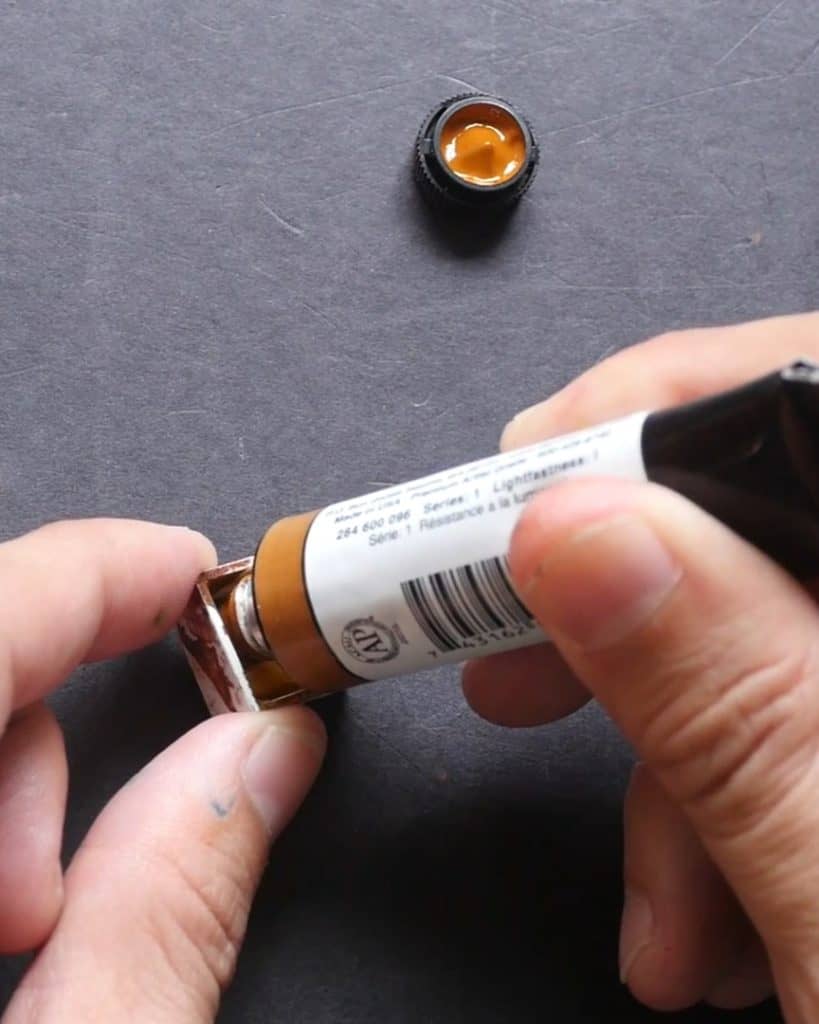
Opening the Tube Carefully

One of the most significant issues when opening watercolor tubes is paint rushing out uncontrollably.
If a tube has been sitting for a while, the liquid binder (gum arabic) can separate from the pigment.
How to prevent waste: Always have your empty pan ready before opening the tube. This way, if the paint comes out too fast, you can direct it straight into the pan instead of making a mess.
I’ve had moments where I opened a tube too slowly, and the paint spilled into the cap instead of the pan.
So, open the tube quickly but carefully, and be prepared to catch any excess!
Filling the Pan in Layers
The key to avoiding cracks and gaps is to fill the pan in layers. If you squeeze all the paint in at once, it will shrink as it dries, creating deep gaps. Here’s how to do it right:
First Layer: The Base Fill
Start by squeezing a small amount of paint into the pan—about one-third to half of the pan.
- Focus on filling the corners first before spreading the paint to the center.
- Lightly tap the pan on a surface to remove air pockets.
Let this first layer dry completely before adding more paint.
Second Layer: Filling the Gaps

Once the first layer has dried, you’ll likely see some shrinkage or small holes. Now, squeeze in more paint to fill about three-fourths of the pan.
- Again, focus on spreading the paint evenly.
- Let this second layer dry before proceeding.
Third Layer: Final Fill for a Smooth Surface

For the last layer, fill the pan to the top.
- Use the tip of the paint tube to smooth out the surface.
- If there are any tiny holes, lightly tap the pan to level the paint.
This layering method ensures that the paint dries evenly without forming deep cracks.
Handling Paint Left in the Tube Cap

It’s common for paint to get stuck in the tube cap when opening. Instead of wasting it, here’s how to reuse it:
- Using a toothpick to scrape excess paint: I like to use a toothpick to carefully scoop the paint out of the cap and transfer it to my pan.
- Using a watercolor brush: If the paint is too runny, you can dip a brush into the cap and use that paint for a quick sketch instead of wasting it.
How to Prevent Dried Paint from Clogging the Tube

To keep your paint tubes in good condition:
- Wipe off any excess paint before closing the cap.
- If the binder separates in the tube, stir it with a toothpick before squeezing out the paint.
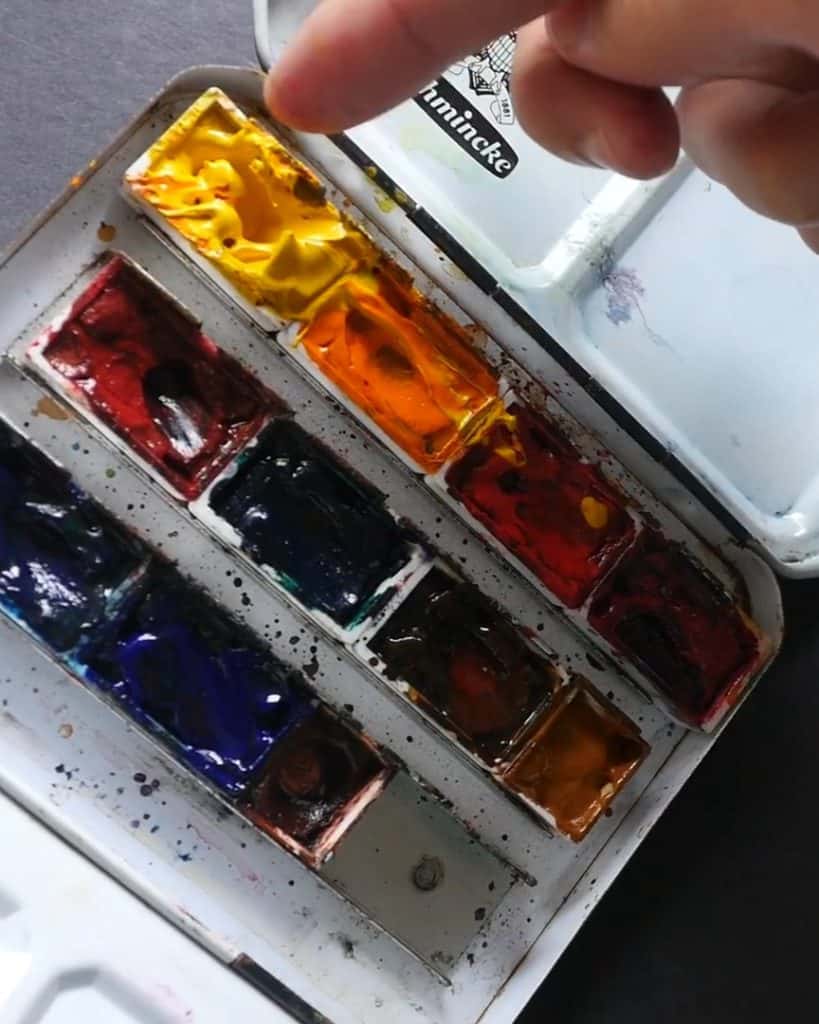
Drying and Storing Your Watercolor Pans

Once your pans are filled, they need to dry completely before use.
How to Properly Dry Watercolor Pans
- Leave the pan uncovered in a dry, well-ventilated area.
- Place a pencil under the lid of your watercolor box to keep it slightly open, allowing moisture to escape.
Avoid Sunlight to Prevent Color Fading
Never dry watercolor pans in direct sunlight. Some colors will fade, reducing their vibrancy over time.
Common Mistakes and How to Avoid Them
Even with the best technique, mistakes can happen. Here are a few to watch out for:
- Not letting the paint dry before storing: If you close your palette too soon, wet paint can leak into other pans. Always check for dryness before packing your set.
- Using paint brands that don’t dry well: Some brands, like M. Graham, contain honey, making them stay sticky even after drying. Stick to brands like Winsor & Newton, Daniel Smith, and Mission Gold for the best results.
- Using colors that dry too hard: Some pigments, like Viridian, dry rock-hard and are challenging to rewet. It’s best to test your colors before filling a whole pan.
In A Nutshell
Filling watercolor pans with tube paints is an easy and cost-effective way to customize your palette.
By following the step-by-step method—filling in layers, drying properly, and storing your pans correctly—you’ll get vibrant, long-lasting colors.
Have you tried filling your watercolor pans? Let me know in the comments! If you found this guide helpful, don’t forget to share it with fellow artists.