Let’s start your crochet journey with the most critical first step—the chain stitch! This is the foundation of almost every crochet project.
In this post, I’ll show you exactly how I make a chain stitch, with every move and detail explained simply and clearly. Get your yarn and hook ready—we’re going to crochet together!
Contents
- 1 Why the Chain Stitch Matters
- 2 Materials You Need to Start
- 3 Step 1: Wrap the Yarn Around Your Hand
- 4 Step 2: Position the Yarn Correctly
- 5 Step 3: Make a Slipknot
- 6 Step 4: Start Your First Chain Stitch
- 7 Step 5: Continue the Chain Stitch
- 8 Step 6: Tips for Neat and Even Chains
- 9 Practice Tips for Beginners
- 10 Final Thoughts
Why the Chain Stitch Matters
This isn’t just a beginner’s move—it’s the building block of everything in crochet.
The chain stitch is the foundation for all other stitches. It helps me get used to the feel of the yarn, the hook, and the rhythm of crocheting. Once I master this, everything else becomes easier.
Even if it feels slow now, the more I practice, the faster and smoother I get.

Materials You Need to Start
Before I begin stitching, I always ensure I have the right tools nearby. You don’t need much for this basic lesson—just two simple things.
Here’s what I use:
- A crochet hook (I’m using a 6mm hook)
- A ball of yarn (fabric yarn is great for learning because it’s easier to see each stitch)
Using a larger hook and thick yarn helps when you’re learning, especially when you’re trying to watch how the yarn moves.

Step 1: Wrap the Yarn Around Your Hand
Let’s prepare the yarn first. This step helps control the tension as I crochet.
I take the yarn and wrap it around my hand just like this. It might feel weird at first, but wrapping it the same way each time gives me better control over how tight or loose my stitches are. Don’t worry if it feels awkward—it gets easier with practice!

Step 2: Position the Yarn Correctly
Now that the yarn is in place, it’s time to pay attention to its ends. This part can be confusing at first, but it’s pretty simple.
I make sure the short end of the yarn is on my right-hand side and the long end (the part connected to the yarn ball) is on my left. This setup is necessary because I’ll use the working yarn (the long end) to make the stitches.

Step 3: Make a Slipknot
Let’s create the very first loop—the slipknot. This doesn’t count as a chain stitch yet, but it’s how we get started.
First, I use the short end of the yarn to make one loop in a counterclockwise direction.


Then, I place that loop under the working yarn. Where the yarn crosses, I pinch that spot using my thumb and middle finger.

Now, I insert my crochet hook into that first loop.

I pull the hook through gently and tighten it just a bit.


And there it is—my slipknot! Don’t count this as a chain stitch; we’ll start the real stitches next.

Step 4: Start Your First Chain Stitch
It’s time for the actual chain stitch! This is where the fun begins.
I hold the yarn in place using my middle finger. Then, I use my index finger to guide the hook while my thumb keeps the hook steady.

Now, I pull the hook down, scoop it under the working yarn (a “yarn over”), and pull that yarn through the loop already on my hook.


Once I pull it through, I see a neat little V shape—this is my first chain stitch!

Step 5: Continue the Chain Stitch
I keep going with the same motion once I get the first chain stitch down. It’s all about repeating and building muscle memory.

When I move the hook, I tilt it down slightly as I go under the yarn. Then, I turn it upward again to pull the yarn through the loop.

I repeat this motion again and again:
- Tilt the hook down
- Yarn over
- Pull through the loop
With each stitch, I get another V shape. That means my chain is growing!
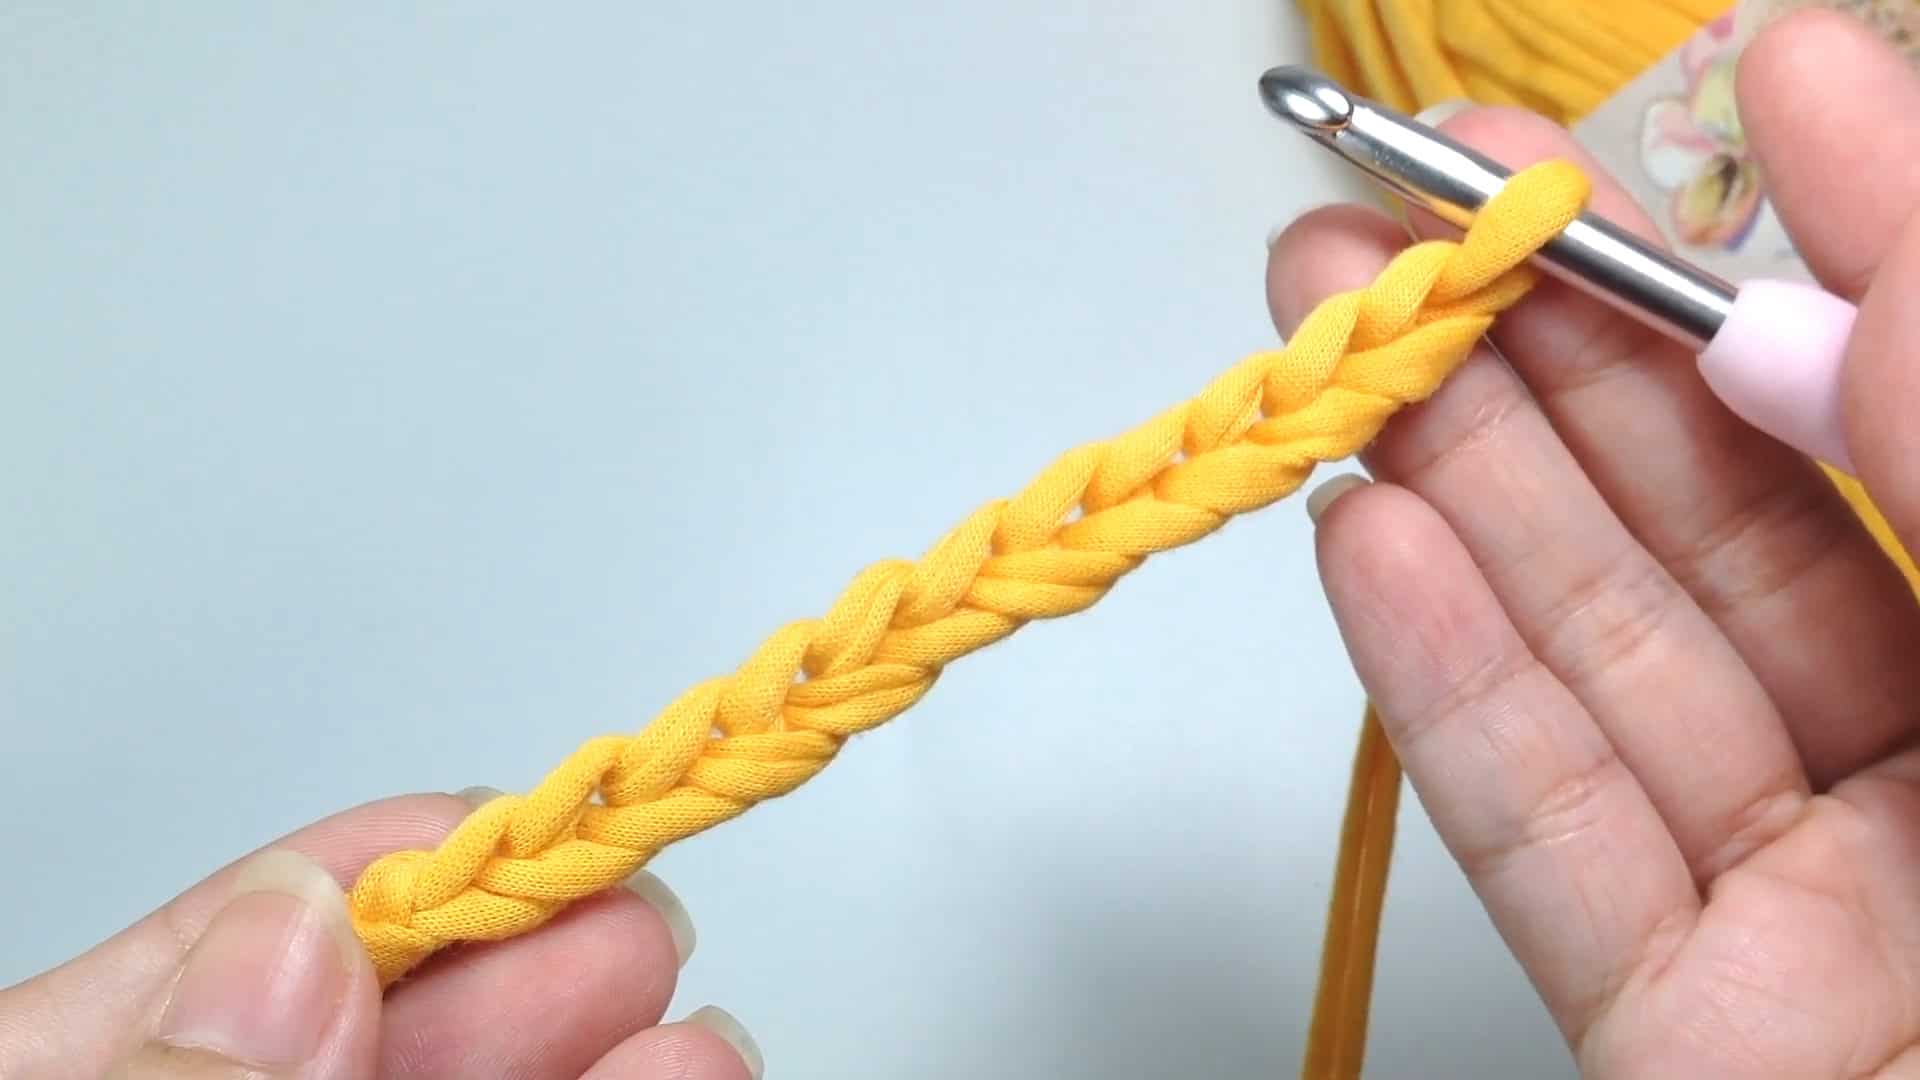
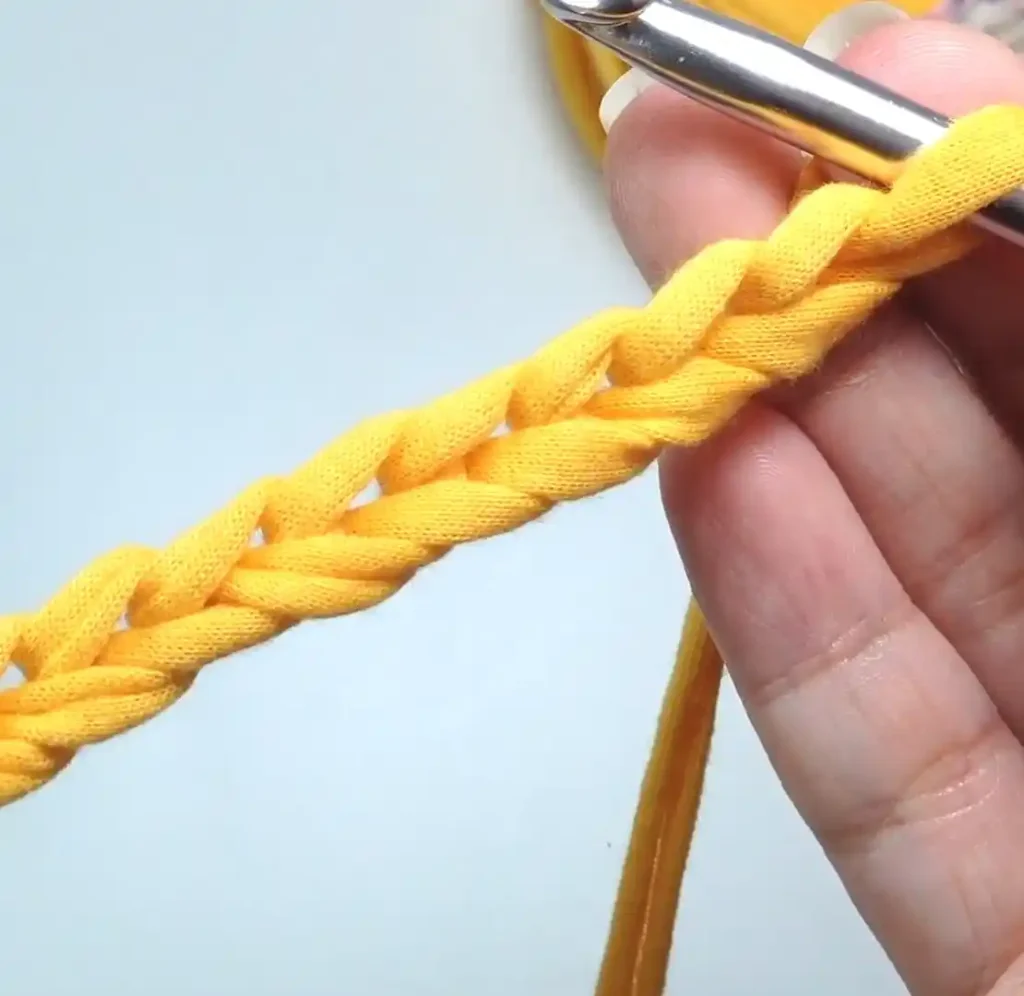
What does a proper chain look like? Let’s take a closer look.

As I continue stitching, I see a series of V shapes forming. Each of these Vs is one chain stitch.
Step 6: Tips for Neat and Even Chains
Let’s talk about how to make the chain look good. Even though it’s basic, this stitch teaches so much.
The biggest tip I can share is this: don’t make your stitches too tight. I always leave a bit of space in each loop so the hook can slide through easily. If it’s too tight, I struggle with later stitches, and that just slows me down.
I use my thumb and middle finger to hold the part of the chain I’m working on to stay consistent. This keeps it from moving around. I tilt the hookup and pull the yarn through, then tilt it down again, yarn over, and pull up another loop.
Slow and steady is the way to go!

Practice Tips for Beginners
I know it can be tempting to rush, but here’s what helped me the most when I first started: go slow and keep practicing.
I set aside a little time to practice each day. Even just a few minutes helps. With time, my stitches started to look even and consistent, and that’s when I knew I was ready to try more crochet techniques.
Getting the chain stitch right gives me confidence. And it’s so exciting to see the progress!
Final Thoughts
That’s how I make a chain stitch step by step! It may look simple, but it’s the start of every beautiful crochet piece. Try it out, and don’t worry if it takes a few tries—it did for me, too!
What other crochet basics would you like me to share next? Let’s keep learning together—one stitch at a time!