
Watercolor painting is all about flow, spontaneity, and texture.
One of the easiest ways to create dynamic effects is by using drops and blotches.
This technique is fun, unpredictable, and perfect for adding energy to your artwork.
Today, I’ll show you how to create watercolor drops and blotches step by step. Grab your paints, and let’s get started!
Contents
Essential Watercolor Painting Supplies
Before we start, let’s gather the necessary supplies. Having the right tools will make the process much smoother. Here’s what you’ll need:
- Watercolor paints
- Watercolor paper
- A syringe
- A straw
- Cardboard
Step-by-Step Guide to Creating Watercolor Drops and Blotches
Now, I’ll guide you through each step so you can create stunning watercolor effects with ease.
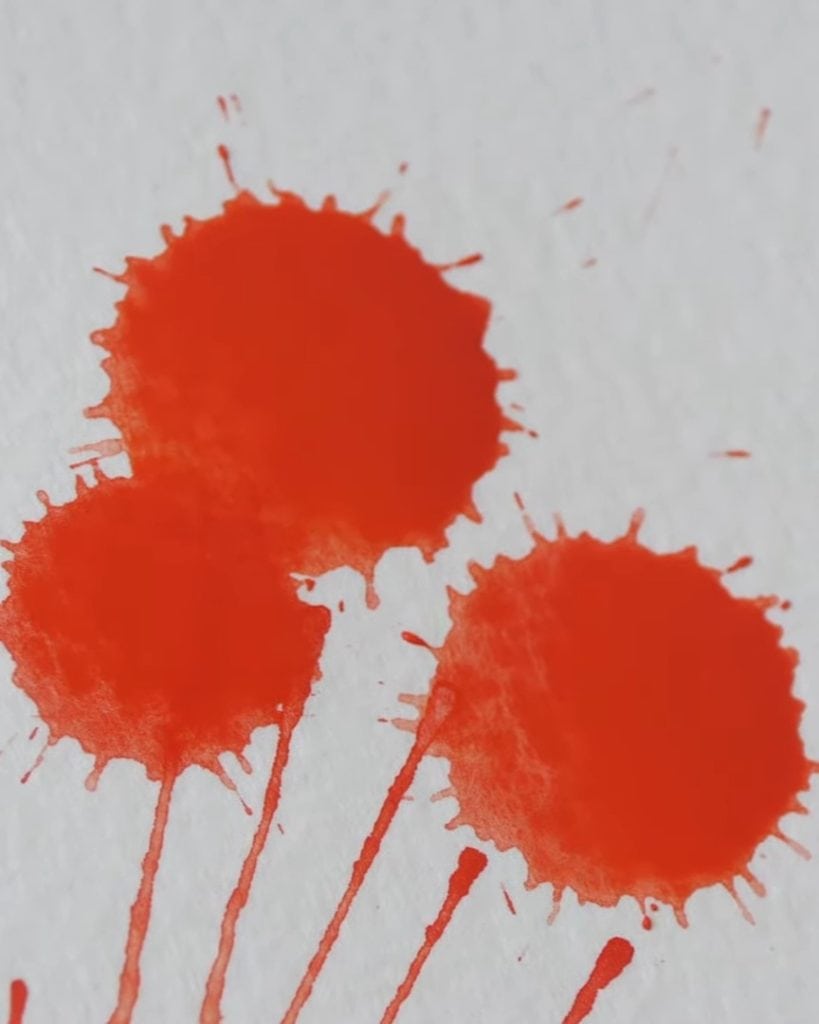
Step 1: Dropping Paint on Paper
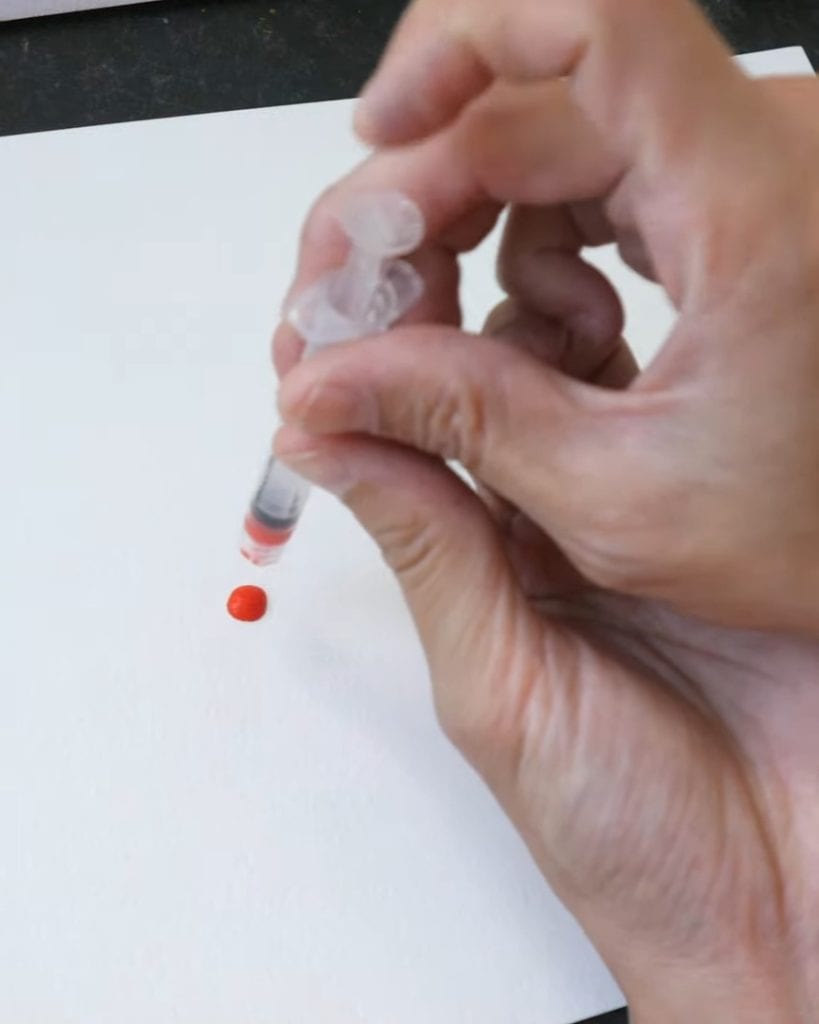
First, I use a syringe to pick up some watercolor paint and place a few drops onto the paper.
I usually drop them near the center so there’s enough space for the paint to spread.
This step is simple but essential—it sets the foundation for the splatter effect.
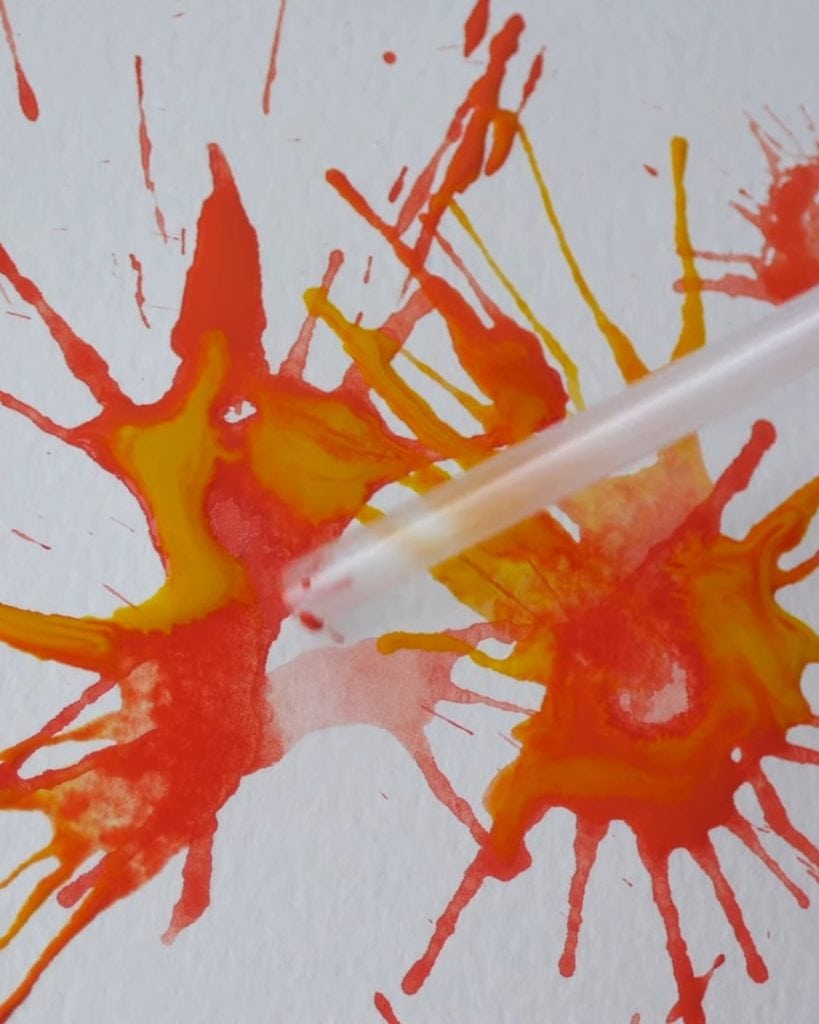
Step 2: Controlling the Spread of the Paint
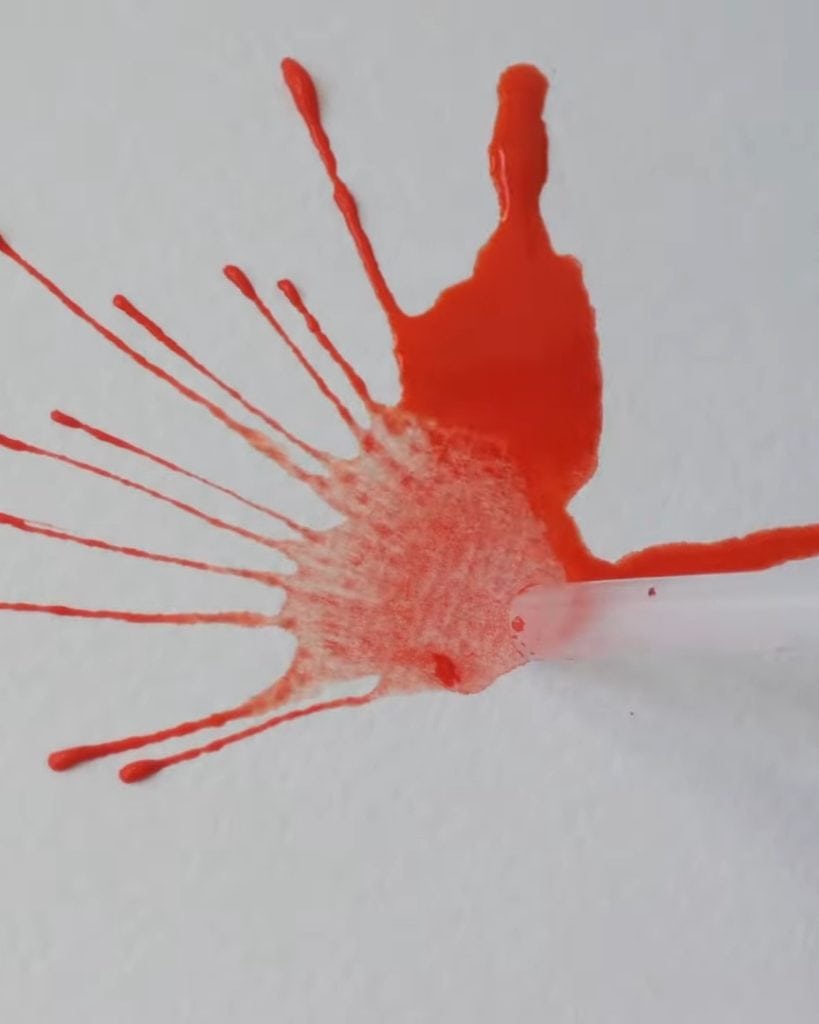
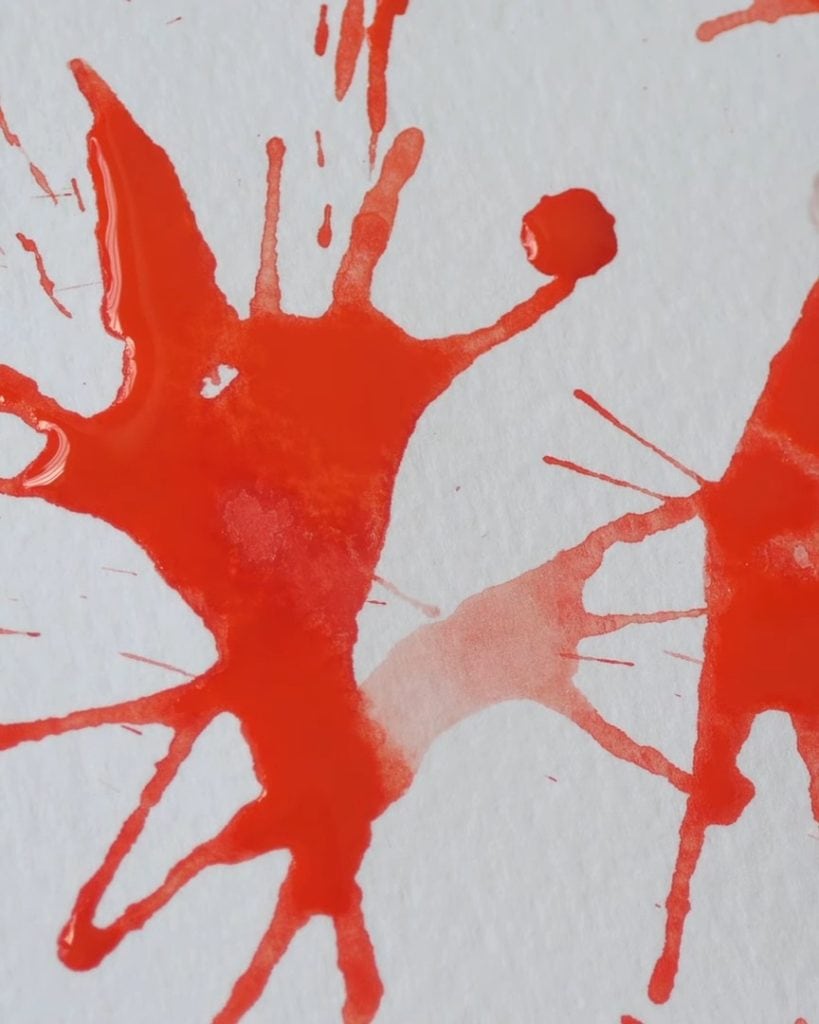
Now comes the fun part! I use a straw to blow the paint in different directions.
By adjusting the angle, I can guide the splatters to spread outward. If I want the paint to move in a specific direction, I turn the paper accordingly.
For a more blotchy effect, I blow directly on top of the paint. This creates unpredictable textures, making each piece unique.
Step 3: Experimenting with Height and Drop Size
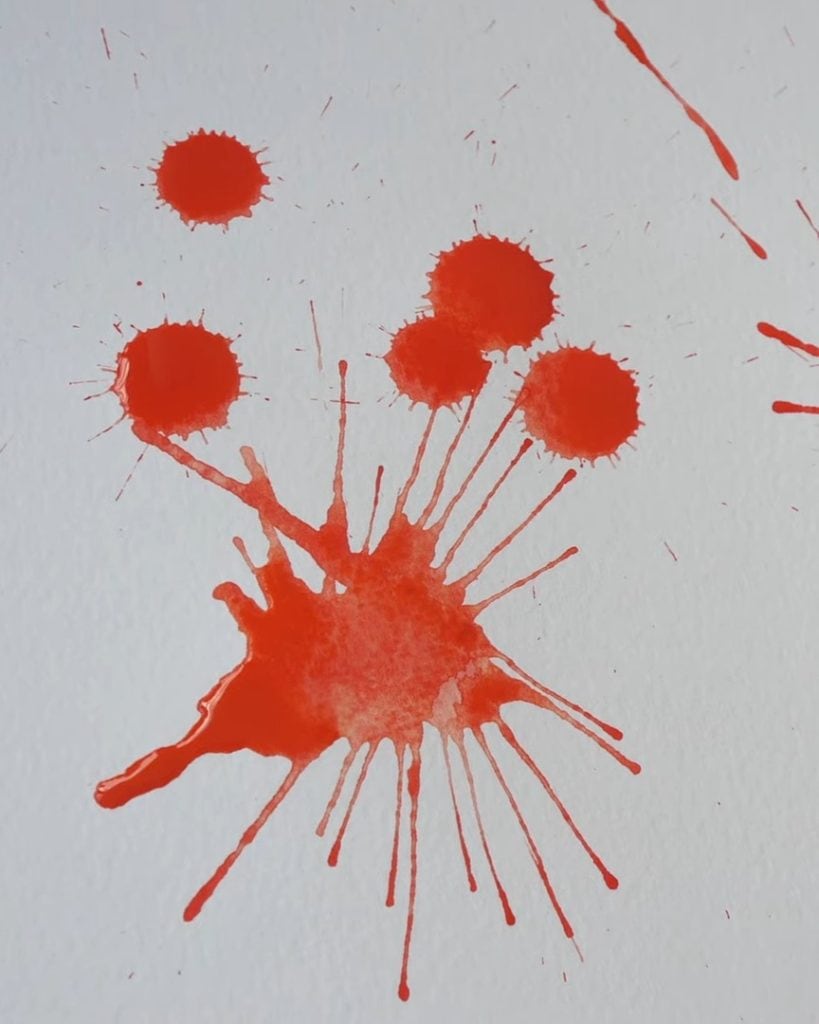
The height from which I drop the paint also affects the results.
Dropping it from higher up creates larger, more dispersed splashes, while a lower drop results in smaller, more concentrated spots.
To see the difference, I try dropping paint from different heights and compare the results.
This small change adds a whole new level of control to the technique.
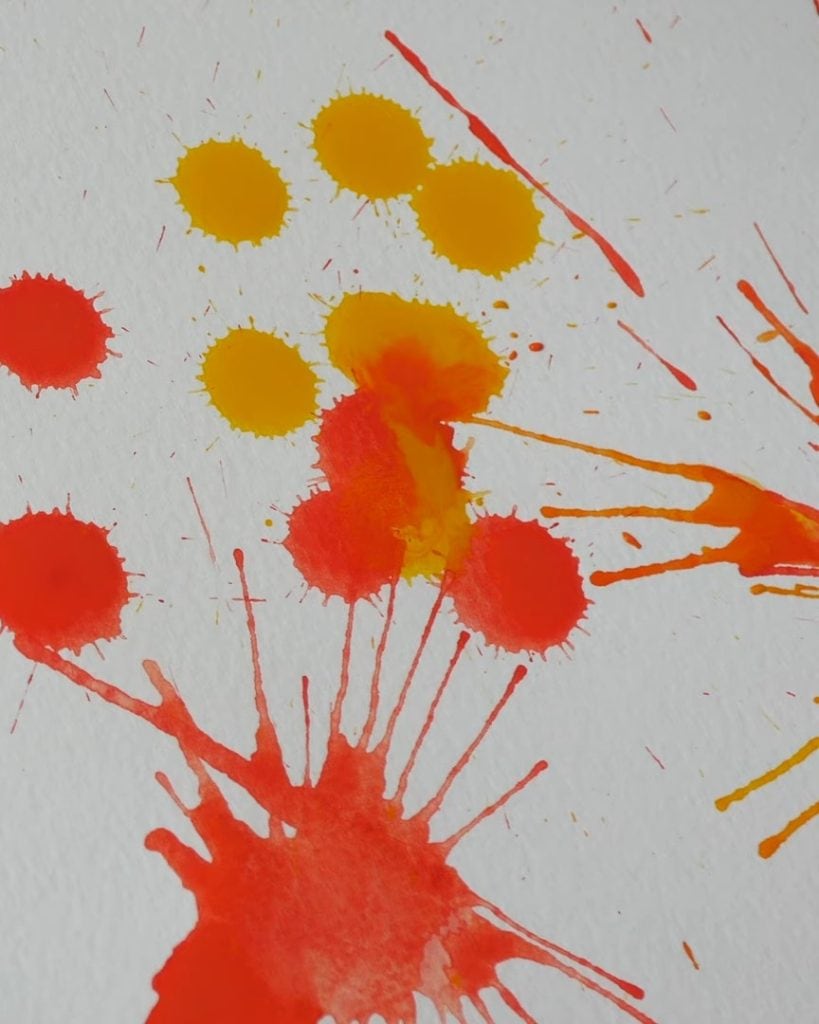
Step 5: Add More Colors for Blending Effects
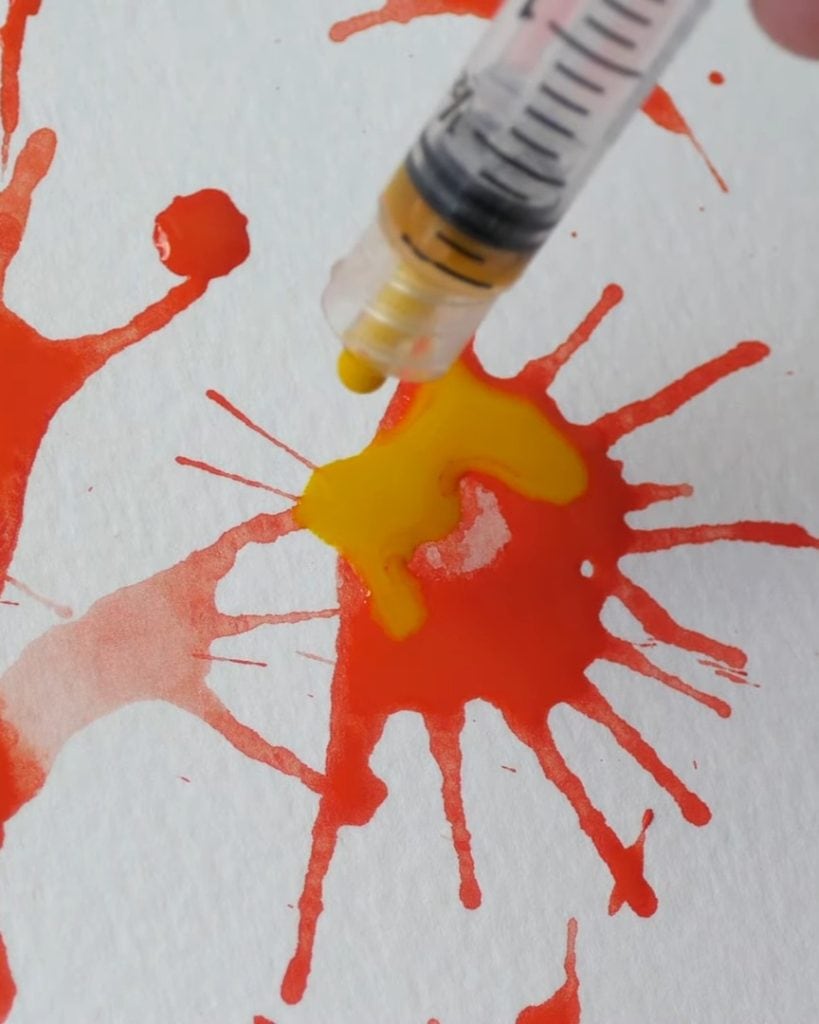
Now that we have the basic splatters, let’s add some color!
Choosing and Layering Colors
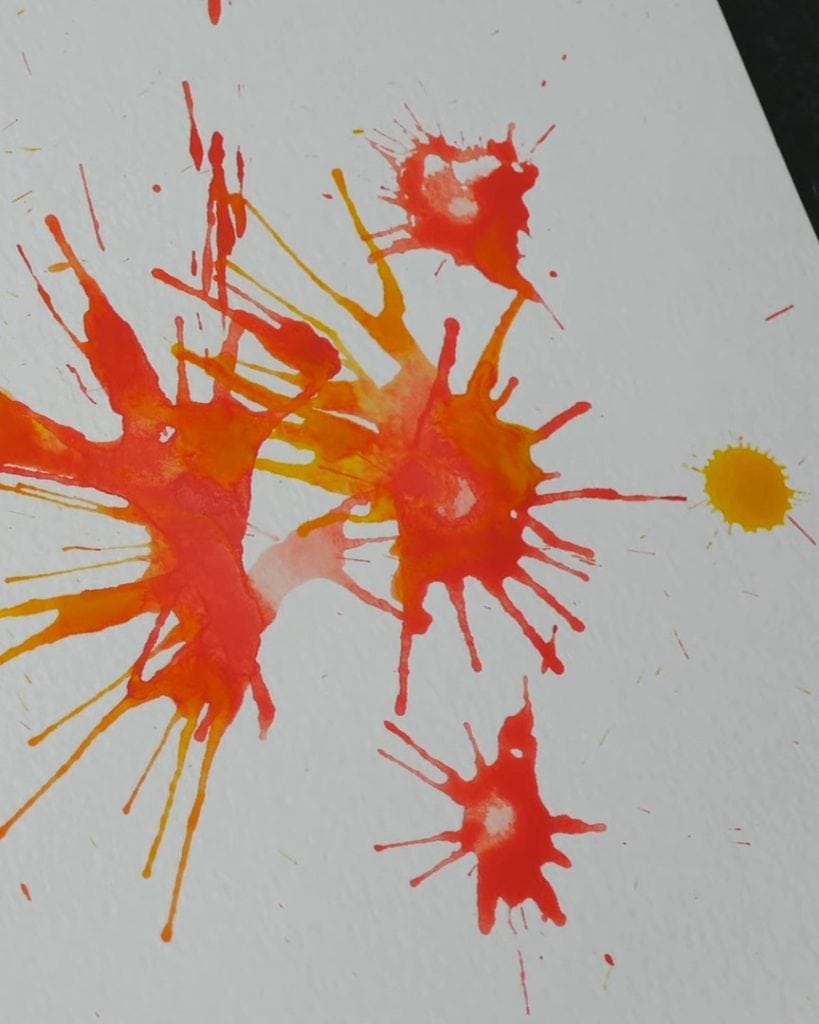
Adding a second color while the first is still wet creates stunning blends.
I often use cadmium yellow and orange because they mix well and create a warm, glowing effect.
Simply drop the second color near or on top of the first, then blow in different directions.
This technique gives your artwork depth and richness.
Watching the Paint Dry: Changes in Appearance
One of my favorite things about watercolor is how it changes as it dries. Some areas will remain transparent, while others will look more opaque.
The edges of the drops often become softer, making the artwork look more natural.
If you want to control this effect, you can let some areas dry before adding new layers. This prevents unwanted mixing and keeps the colors vibrant.
Advanced Watercolor Splatter Techniques for Unique Effects
Watercolor splattering isn’t just random—it’s about controlling the effects to suit your artistic vision. Here are some advanced techniques to try.
How to Create Larger Watercolor Splatter Marks

If you want bigger splashes, try this:
- Drop two drops of paint in the same spot before blowing.
- Blow harder to spread the paint further.
By adjusting the force of your breath, you can control the intensity of the splatters.
Using a Straw to Apply Watercolor for a Unique Splatter Effect
Instead of using a syringe, dip one end of a straw into the paint, pick up some color, and blow it onto the paper.
This technique creates different splatter patterns compared to traditional dropping methods.
It’s a simple trick, but it adds another level of variety to your painting.
Comparing Single-Color vs. Multi-Color Watercolor Splatters
Should you use one color or multiple?
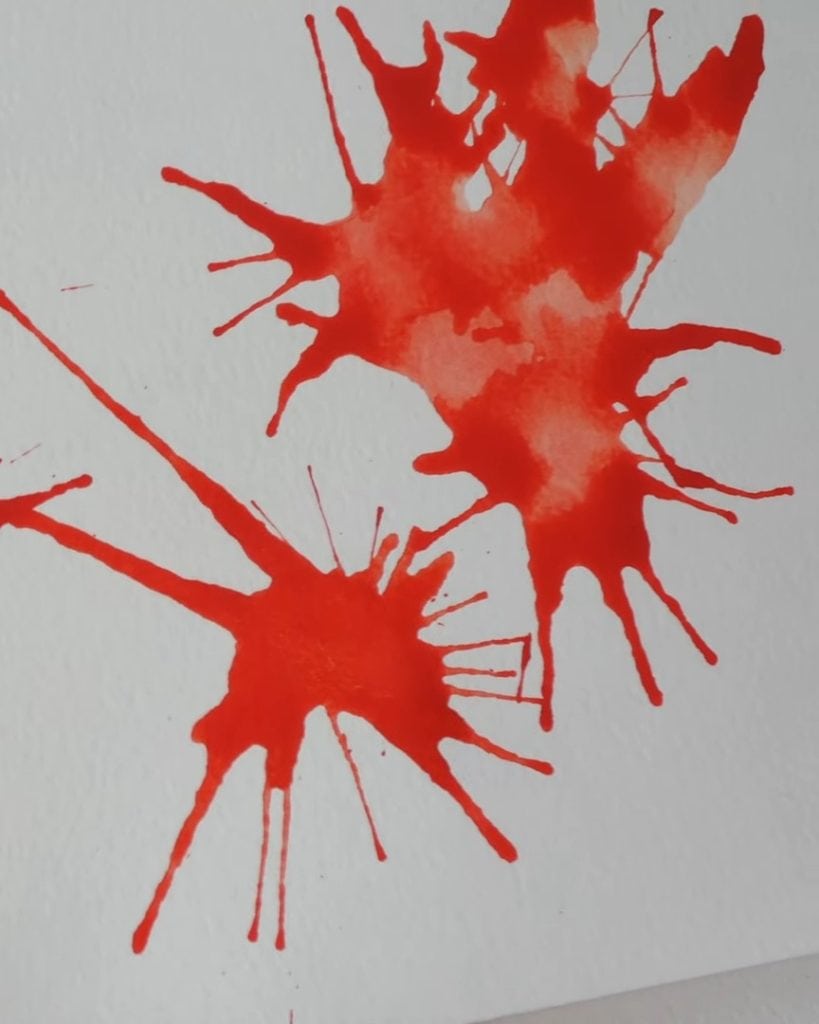
- Single-color splatters – Clean and simple, but can feel flat.
- Multi-color splatters – More dynamic and visually interesting.
I tested both approaches. The blended areas with two colors looked much more exciting!
Controlling the Drying Time
If you want crisp, separate layers, let the first layer dry before adding more paint. But if you want smooth transitions, work while everything is still wet.
Keep in mind that thicker paint takes longer to dry. If you apply a lot of paint in one area, it may take hours to set fully.
In A Nutshell
This watercolor splatter technique is simple, fun, and full of surprises.
I love how the colors blend and spread in unpredictable ways, creating unique effects every time.
Have you tried this technique before? If not, give it a go and let me know how it turns out in the comments.
I’d love to hear about your experience and see your creations!