
Watercolor painting is a beautiful and versatile art form, but it can feel overwhelming for beginners.
If you’re just starting, learning the proper techniques will make your painting journey much easier and more enjoyable.
In this guide, I will walk you through four essential watercolor techniques every beginner should master.
These techniques will help you create stunning effects and improve your brush control. Let’s dive in!
Contents
Technique 1: Dry Brush Technique
The dry brush technique is one of the most fundamental skills in watercolor painting. It’s great for adding texture and details to your artwork.
Overview of Dry Brush Technique
Dry brush painting means applying watercolor paint directly to dry paper without adding water first.
Since the brush isn’t soaked, the paint strokes appear rough, textured, and bold.
This technique is perfect for painting fine details like grass, tree bark, or flower petals.
It gives you full control over the brush, making it ideal for practicing precision.
Characteristics of the Dry Brush Technique
When using the dry brush technique, you’ll notice:
- Bold and clear brush strokes – Each stroke stands out, showing the texture of the bristles.
- Thick color application – The paint appears more concentrated and less blended.
- Defined edges – Unlike wet techniques, the colors don’t spread or mix.

When and How to Use It
I often use this technique for outlining objects or adding texture. If you’re a beginner, practicing dry brush strokes will help you get familiar with brush movement.
Pro Tip: Use a stiff, dry brush with minimal water for the best results. Try painting simple shapes like leaves or clouds to see how the brush reacts.

Technique 2: Wet-on-Wet Technique
Now that we’ve covered the dry brush method let’s explore the opposite technique: wet-on-wet painting.
This method creates soft, dreamy effects perfect for backgrounds and blending.
Understanding the Wet-on-Wet Technique
The wet-on-wet technique involves applying watercolor to wet paper.
Because the paper is already damp, the paint flows and blends naturally, creating soft edges and organic shapes.
This technique is excellent for painting skies, oceans, and soft floral designs.
It’s a must-learn skill if you love watercolor’s signature smooth transitions.
Key Features and Visual Effects
Here’s what makes the wet-on-wet technique unique:
- Smooth color transitions – The paint spreads evenly, blending seamlessly.
- Soft, airy effects – Perfect for painting mist, clouds, and water.
- Unpredictable results – Since the paint flows freely, each painting turns out unique.
Practical Applications and Tips
I often use this technique for backgrounds, especially for a soft, watercolor look.
If you want more control over the blending, try tilting your paper slightly and watching how the colors move.
Pro Tip: Start with light washes and gradually build up the intensity. Using too much water can cause colors to become muddy.
Technique 3: Layering (Glazing) Technique
If you’ve ever wondered how watercolor artists create depth in their paintings, layering (or glazing) is the secret.
This technique helps you add richness and dimension to your artwork.
What is Layering in Watercolor?
Layering means painting one color, letting it dry completely, and then adding another layer on top.
This creates a transparent, glowing effect while keeping the previous layers visible.
Benefits and Effects of Layering
By mastering layering, you can:
- Create depth and contrast – Multiple layers add dimension to your painting.
- Mix colors without muddiness – Each layer stays separate, preventing unwanted blending.
- Enhance details – Helps build up shadows and highlights gradually.

How to Master Layering
When I started, I made the mistake of painting my second layer before the first one was completely dry.
This caused colors to mix in unpredictable ways. Patience is key! Always let each layer dry before applying the next.
Pro Tip: Use thin, transparent layers rather than heavy strokes. This helps maintain the delicate watercolor effect.
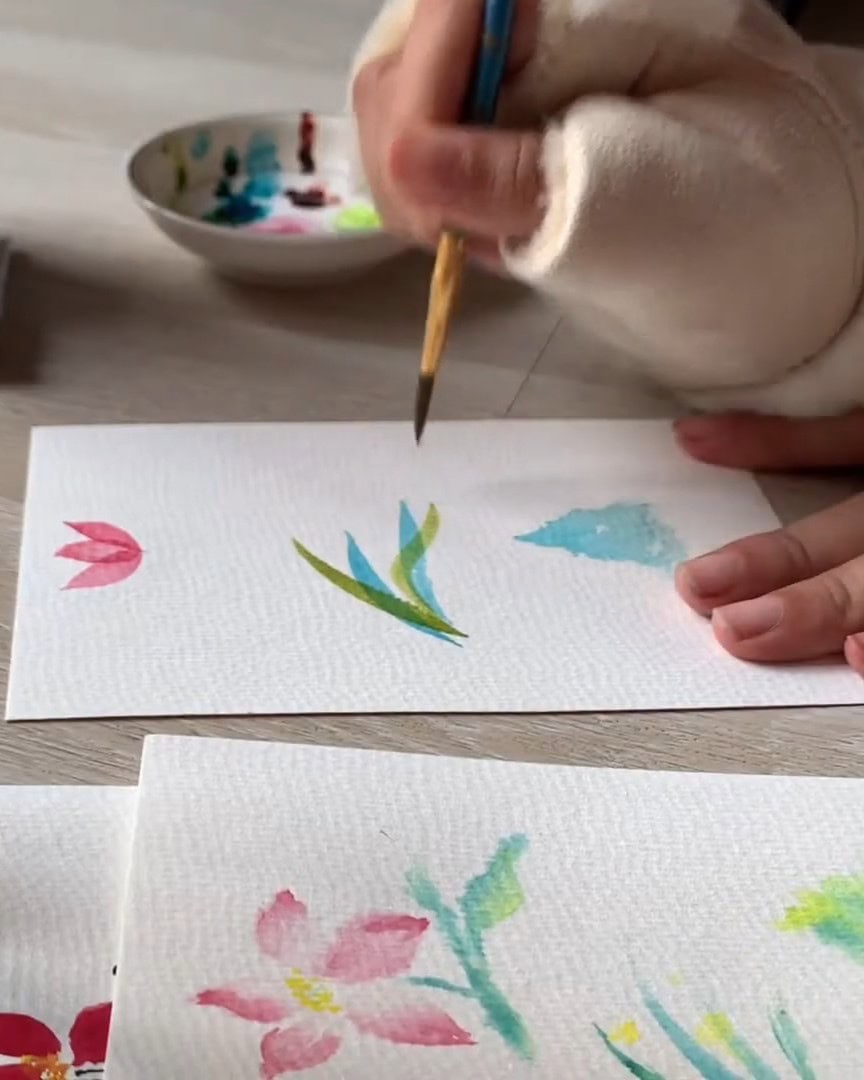
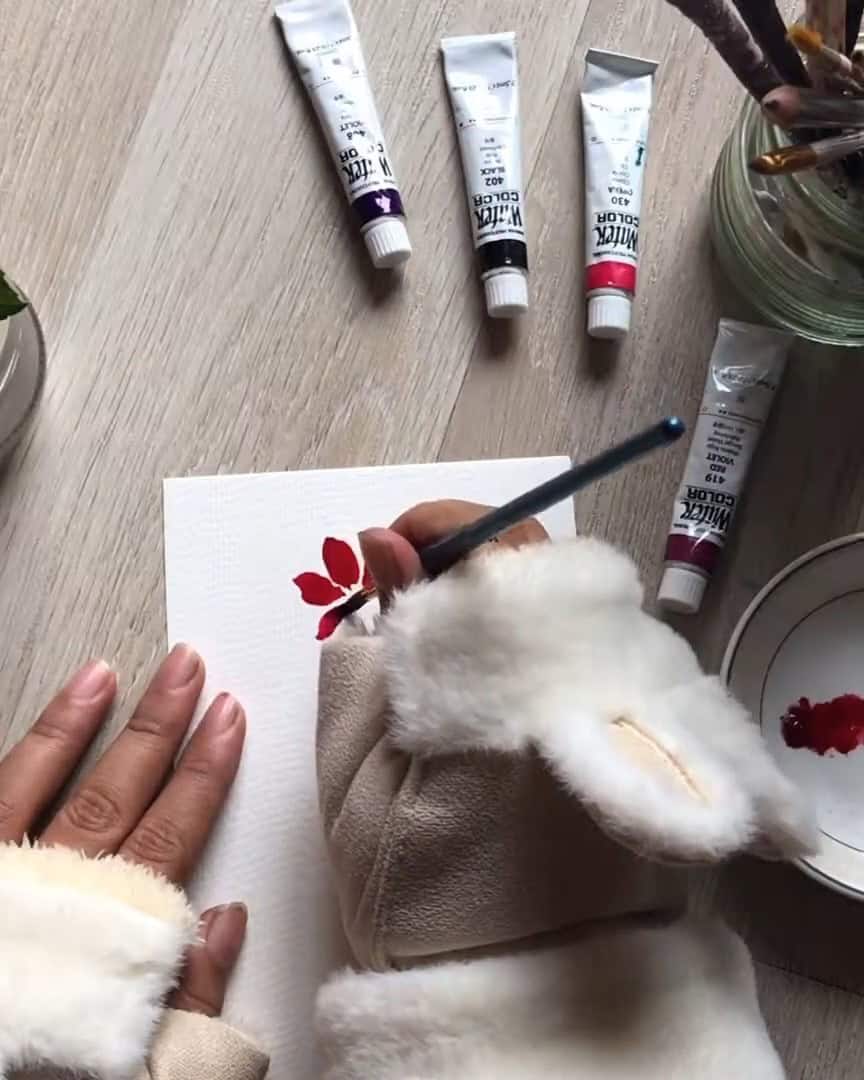
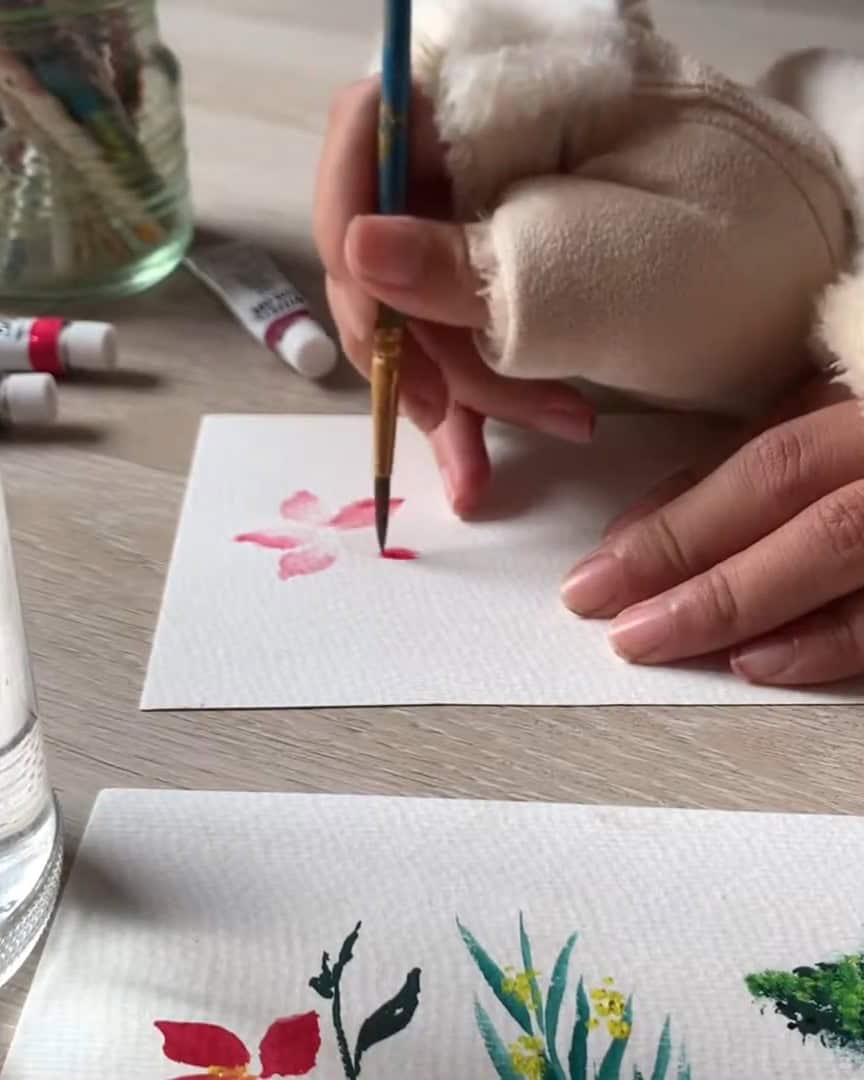
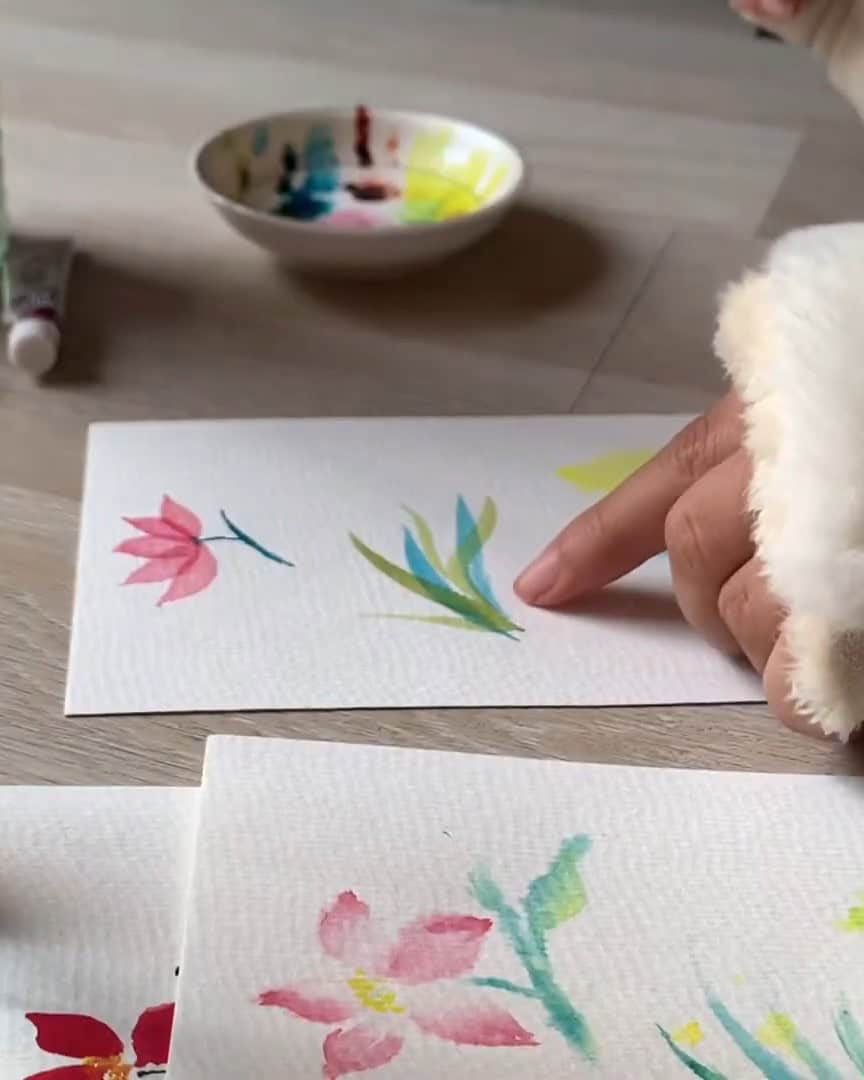
Technique 4: Dual-Color Brush Technique
Finally, let’s explore one of my favorite techniques: using two colors on one brush.
This method creates a natural blending effect that is perfect for painting flowers and leaves.
Introduction to the Dual-Color Brush Technique
This technique involves loading two different colors onto a single brush. The colors naturally mix as you paint, creating a beautiful gradient effect.
It’s a great way to add variety to petals, leaves, and abstract designs without needing multiple strokes.

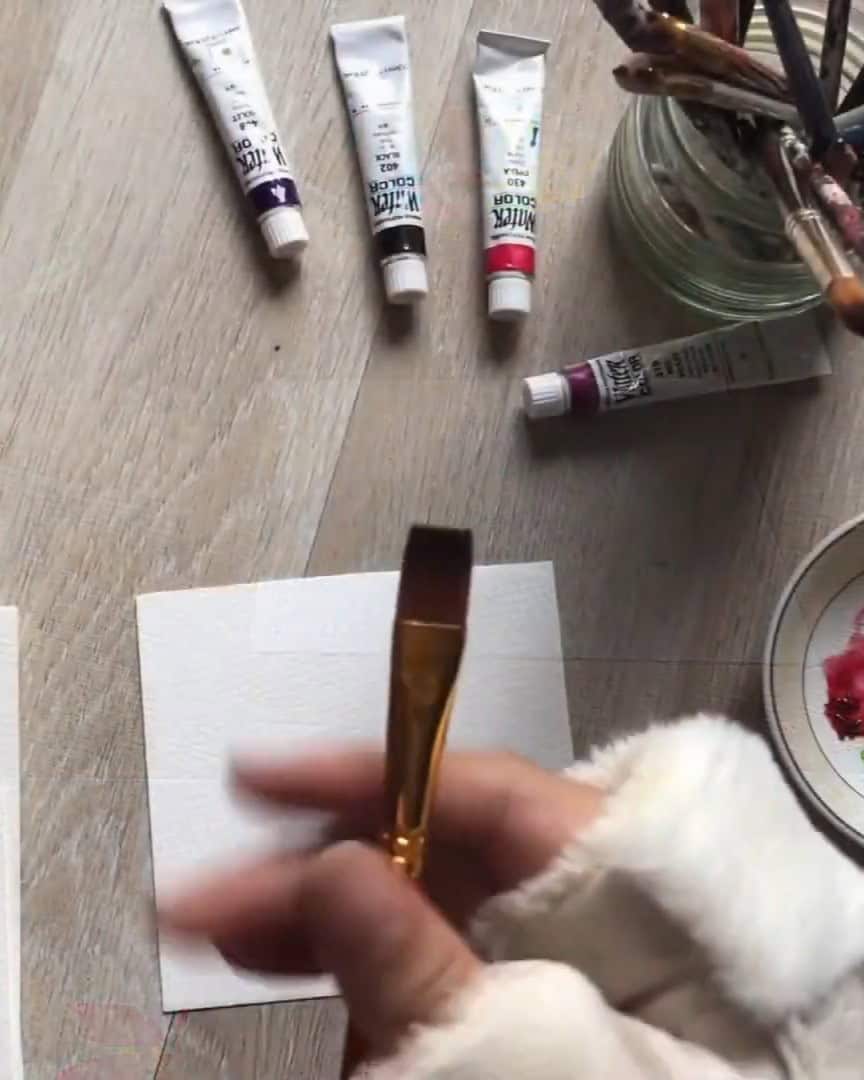
Best Brushes and Paper for This Technique
I recommend using a flat or round brush to achieve the best results.
The type of paper also matters—textured watercolor paper allows colors to blend more naturally.
Practical Uses and Tips
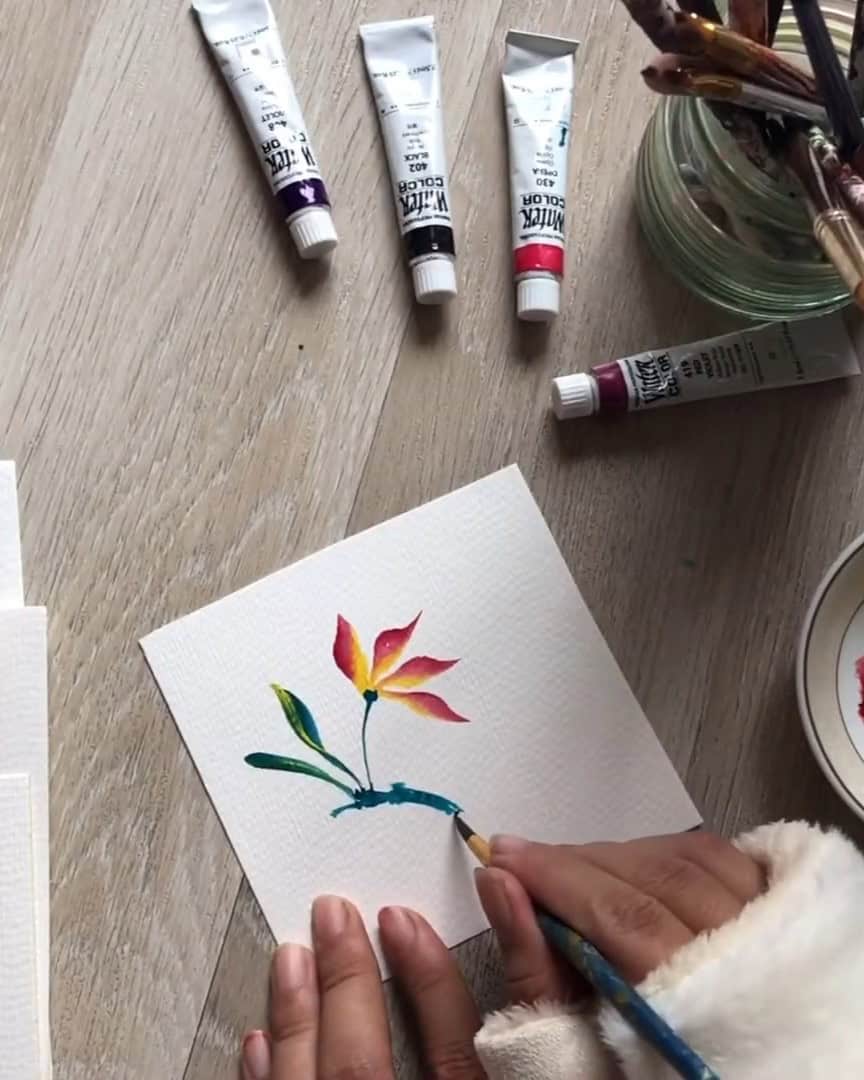
If you’re starting, try this technique with simple flower shapes. Load a lighter color on one side of the brush and a darker color on the other.
With one stroke, you’ll create a seamless blend.
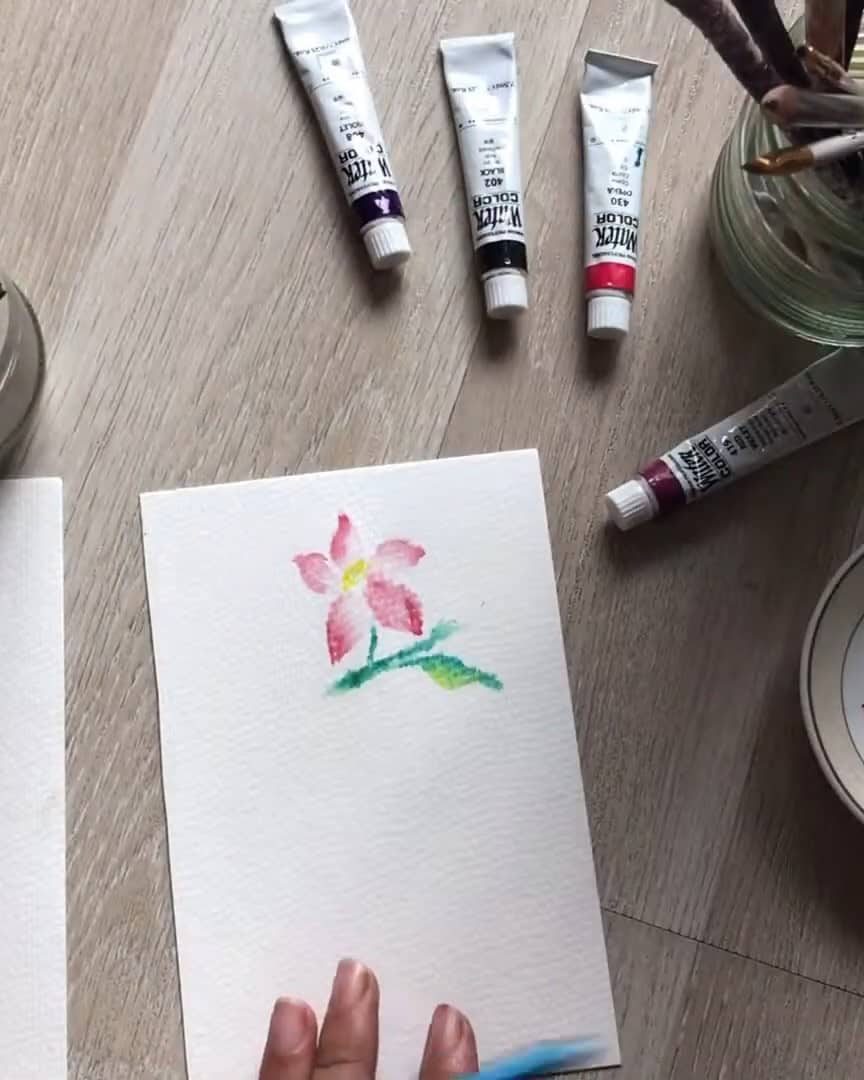
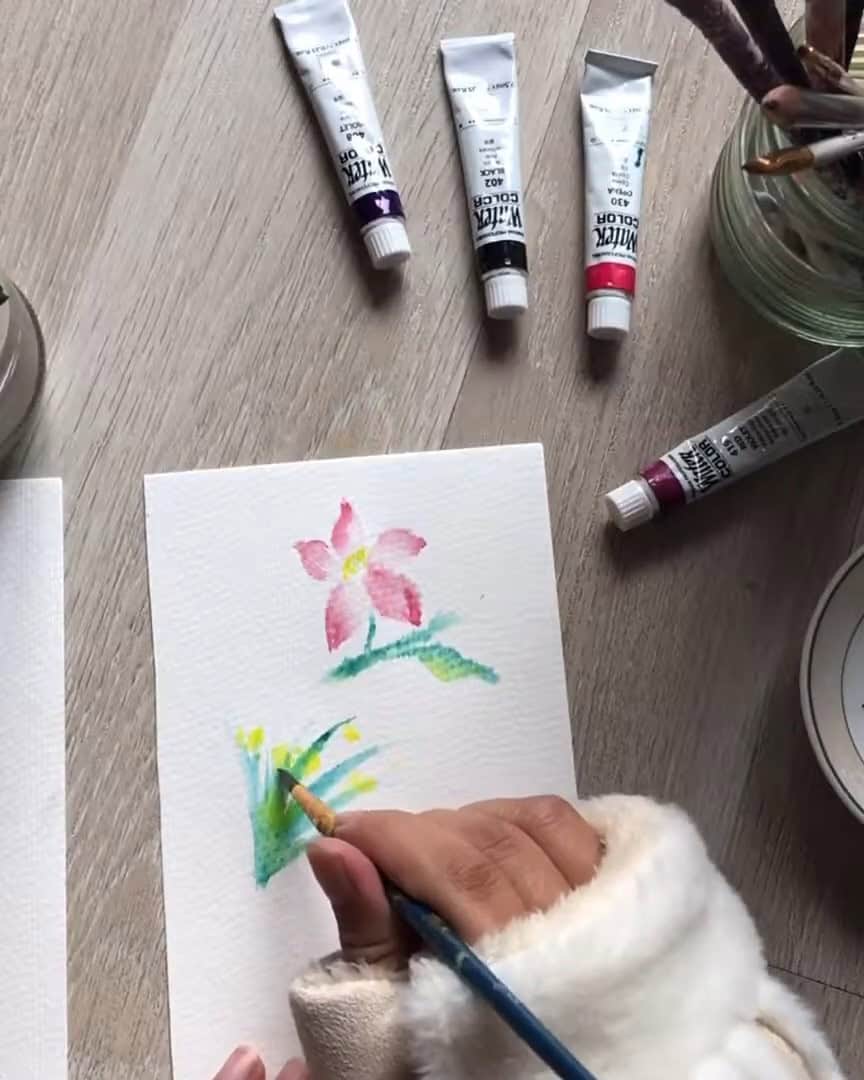
Pro Tip: Experiment with different color combinations.
For example, using yellow and orange can create a glowing petal effect, while blue and green work well for leaves.
Final Thoughts
These four essential watercolor techniques are the foundation for creating stunning paintings.
Whether you’re practicing dry brush for details, wet-on-wet for soft effects, layering for depth, or dual-color blending, each technique adds something special to your artwork.
If you’re new to watercolor, experiment with these methods and different styles. The more you practice, the more confident you’ll become!
Let me know which technique is your favorite in the comments below.
And don’t forget to check out my upcoming tutorials for step-by-step demonstrations of each method.